


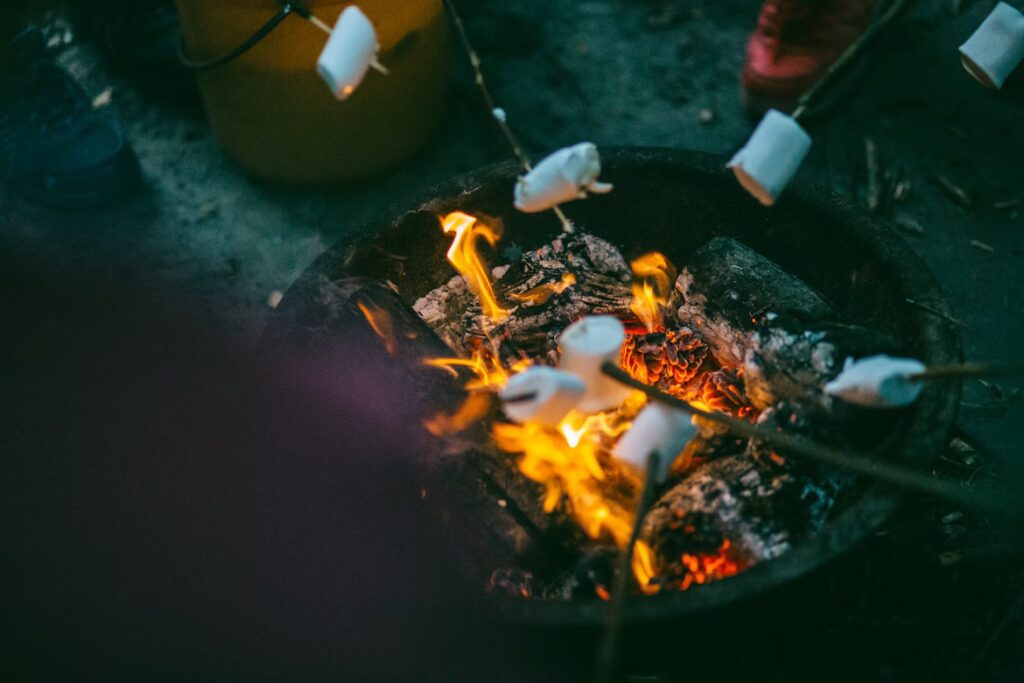
Creating a DIY home fire pit is one of the most satisfying ways to transform your outdoor space into a cozy retreat. It not only adds visual interest to your backyard but also serves as a functional centerpiece where people naturally gather.
Whether you’re sharing stories around the fire, toasting marshmallows, or simply enjoying the flicker of flames on a cool evening, a fire pit brings a sense of comfort and connection that’s hard to replicate with other outdoor features.
For Pennsylvania homeowners, where the changing seasons bring crisp autumn air and brisk winter nights, a fire pit allows for extended enjoyment of your yard well beyond the summer months. It adds warmth, charm, and year-round usability to patios, decks, and gardens alike.
Whether you’re hosting guests or seeking a peaceful solo moment under the stars, this DIY project offers both ambiance and practical value, all while giving you the creative freedom to make the space uniquely your own.
Ignite Your Imagination
- Why Build Your Own Fire Pit?
- Planning and Safety Considerations
- Materials and Tools Checklist
- Step-by-Step Fire Pit Construction
- Enhancing Your Fire Pit Area
- Maintenance and Seasonal Use
- Budget-Friendly Fire Pit Tips
- Adding a Festive Glow with Lights
Why Build Your Own Fire Pit?
Aside from the aesthetic value and practicality, constructing your own DIY home fire pit allows you to tailor every detail to your style and space. It provides a focal point for social gatherings, increases your property’s functionality, and delivers that sought-after cozy ambiance.
If you live in Pennsylvania, where crisp fall nights and chilly winters beg for outdoor warmth, a fire pit is an ideal upgrade. Building your own fire pit also gives you the flexibility to match your existing landscape design,, whether rustic, modern, or traditional.
Unlike prefabricated options, DIY fire pits can be customized in shape, size, and materials, enabling you to work within your budget while still achieving a high-end look. Exploring different backyard fire pit ideas, from simple gravel-surrounded circles to more complex stone patios with built-in features, allows you to personalize your space with ease.
To enhance the atmosphere, consider pairing your fire feature with cozy outdoor seating. Arranging weather-resistant chairs, cushioned benches, or even DIY wooden seating around the fire invites people to linger and connect.
These seating arrangements don’t just complete the look, they define the space and elevate its comfort level, turning an ordinary yard into an outdoor living room. From a functional standpoint, a fire pit can extend your outdoor living season by several months, encouraging more use of patios, decks, or yards even in colder weather.
It becomes an anchor for conversation, storytelling, and family bonding, not to mention a prime spot for roasting marshmallows or sipping warm cider under the stars. Moreover, the hands-on process of building the fire pit fosters a sense of ownership and pride.
Knowing you created a welcoming space with your own effort makes every evening around the fire more rewarding. It’s also a great opportunity for learning or involving family members in a shared DIY project.
In a place like Pennsylvania, where natural beauty is a big part of daily life, integrating a fire element into your yard also helps you better appreciate those starry nights, cool breezes, and changing seasons. Whether you’re nestled in suburban Harrisburg or the rolling landscapes of Lancaster or York, a fire pit offers a timeless, functional way to elevate your outdoor experience.
Planning and Safety Considerations
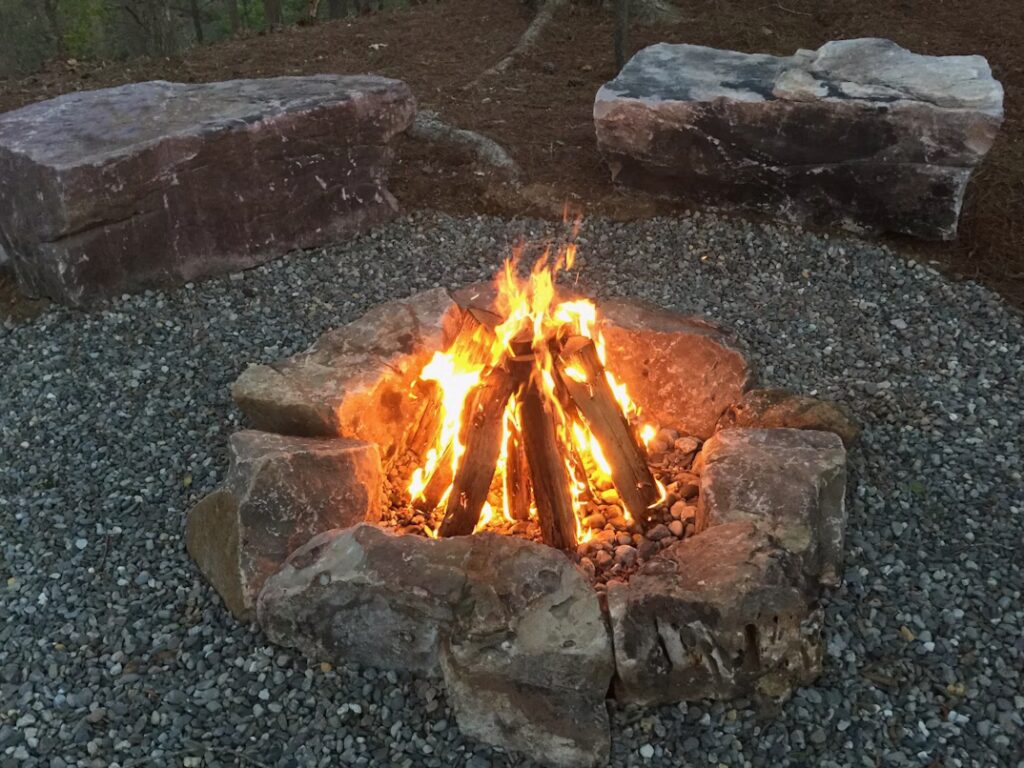
Before grabbing a shovel or laying your first stone, it’s crucial to carefully plan your DIY home fire pit’s location and ensure it complies with local safety regulations. Proper placement not only protects your home and landscaping, it also provides peace of mind when using the fire pit throughout the year.
Start by choosing a flat, open area that offers plenty of space for both the structure and the people who will gather around it. Ideally, your fire pit should be positioned at least 10 to 20 feet away from your home, garage, fence, trees, sheds, or other structures.
This helps reduce fire risk and ensures there’s ample room for guests to enjoy the space safely. It’s also important to consider the direction of prevailing winds, which can influence smoke movement and overall fire behavior. Avoid locations prone to strong gusts, and make sure the smoke won’t blow directly toward windows, patios, or neighboring homes.
Stay clear of overhead obstructions like low-hanging branches, pergolas, or roof eaves even a small, controlled flame can produce heat that rises quickly and unexpectedly. In Pennsylvania, it’s also essential to check with your local municipality or fire department for specific rules surrounding open burning.
Some boroughs or townships may require permits for fire pits, particularly in suburban or urban neighborhoods, and others might restrict the types of fuel allowed, such as treated lumber or yard debris. Taking the time to plan your DIY home fire pit thoughtfully ensures not only a smoother building process, but also a safer, legally compliant space you can enjoy for years to come.
Materials and Tools Checklist
To build a functional and stylish backyard fire pit, it’s important to gather all your materials and tools beforehand. This not only streamlines the construction process but also ensures you end up with a safe and durable final product. Here’s what you’ll need and why each item matters:
Materials
- Retaining wall blocks or fire-rated pavers
These form the main structure of the fire pit. Choose fire-safe materials specifically designed to withstand high temperatures. Retaining wall blocks are easy to stack and available in various colors and finishes to suit your landscape design. - Gravel or lava rock for the base
These materials provide crucial drainage and prevent water accumulation at the base of the pit. Lava rock also disperses heat efficiently, making it both a functional and visually appealing option. - Sand for leveling
A thin layer of sand helps you level the ground beneath the first course of blocks. It acts as a cushion that reduces shifting over time, which is essential for long-term stability. - Fire ring insert (optional)
While not strictly necessary, a metal fire ring adds an extra layer of heat protection for your wall blocks. It also gives the fire pit a more polished and professional appearance.
Tools
- Shovel
Used for digging out the base area and shaping the site. A flat-blade shovel is ideal for creating a clean edge, while a pointed one works well for loosening compacted soil. - Masonry trowel
Handy for smoothing sand, applying masonry adhesive (if needed), and making fine adjustments as you lay the blocks. - Tamper or plate compactor
These tools compact the gravel base to create a firm foundation. A handheld tamper is sufficient for small fire pits, while a plate compactor speeds up the process for larger ones. - Level
Ensuring each layer of blocks is perfectly level is key to the fire pit’s stability and appearance. Even a slight tilt can lead to long-term shifting or structural issues. - Tape measure
Accuracy matters. Use your tape measure to keep track of the pit’s diameter and to evenly space your blocks for a symmetrical layout. - Garden hose or string (for marking the circle)
These are simple but effective tools for outlining the shape and size of your fire pit before you dig. A garden hose offers more flexibility, while a string tied to a center stake helps create a perfect circle.
By assembling these materials and tools ahead of time, you’ll be prepared to build a backyard fire pit that’s not only beautiful, but also built to last. Taking a little extra care during this stage can make the entire project smoother and far more enjoyable.
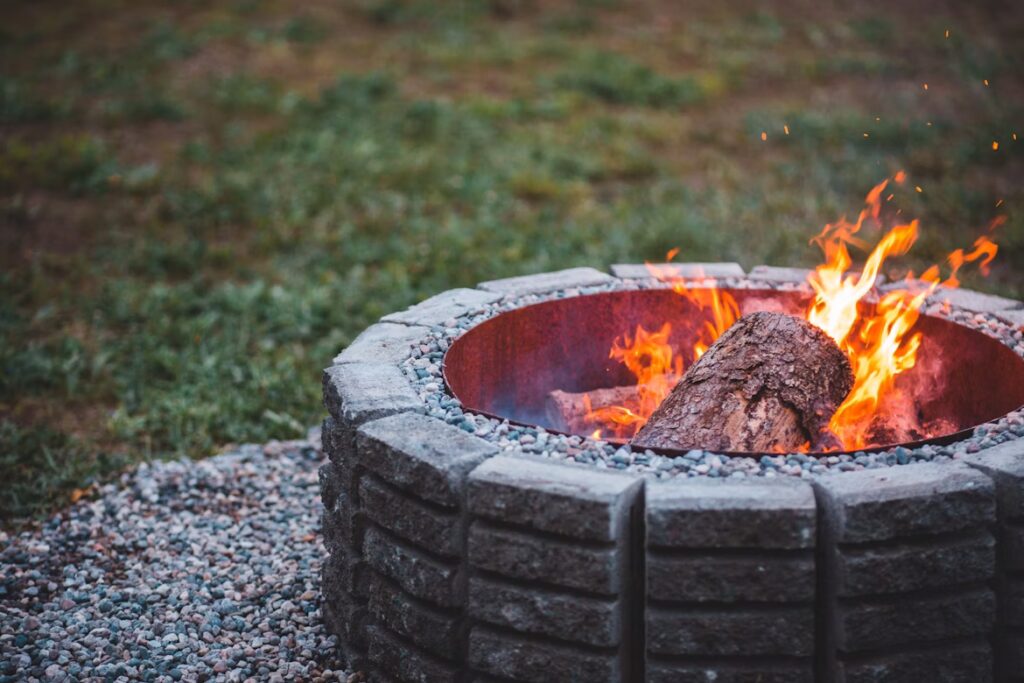
Build a DIY Home Fire Pit Step by Step
Mark the Site
Use a garden hose or string to outline the desired diameter of your fire pit (usually 36–44 inches inside diameter). Mark the perimeter with spray paint.
Dig the Foundation,
Excavate 6–8 inches of soil within your marked circle. This allows room for the gravel and sand base, which will stabilize the structure.
Add Gravel and Sand Layers
Pour 2–3 inches of gravel and tamp it down firmly. Top it with a thin layer of leveling sand, smoothing it out with a trowel.
Lay the First Layer of Blocks,
Position the first course of wall blocks in a circle. Use a level to ensure even placement. Make small adjustments using a rubber mallet.
Stack Additional Layers
Stagger the joints of each layer, similar to a brick wall. Use masonry adhesive between layers if desired for added stability.
Install the Fire Ring (Optional)
If you have a metal fire ring, place it inside the block circle before stacking the final layer. This adds a finished look and protects the blocks.
Fill the Pit Base
Add a few more inches of gravel to help with drainage and heat dispersion.
Enhancing Your Fire Pit Area
The fire pit is just the beginning, its surrounding design plays a major role in creating a welcoming outdoor space. Well-planned seating encourages gathering and comfort. Built-in benches made from matching stone or brick add permanence and unity, while Adirondack chairs offer a relaxed, classic option ideal for long evenings outdoors.
Add weather-resistant cushions, pillows, and blankets in earthy tones for warmth and a cozy feel. Landscaping around the pit also improves both appearance and function. Gravel pathways reduce mud and help define the space, while decorative pavers offer a polished, patio-like look. Matching materials can tie everything together.
If your yard blends into grass or garden beds, simple edging like stones or planters creates clear boundaries without feeling enclosed. As evening falls, ambient lighting like garden lanterns or string lights extends the space’s usability and enhances its charm. Together, these thoughtful touches make your fire pit not only functional, but the heart of your backyard retreat.
Maintenance and Seasonal Use
A well-maintained fire pit isn’t just safer, it also lasts longer and continues to look great year after year. Regular upkeep helps preserve its structure, maintain its aesthetic appeal, and ensure it’s always ready for your next gathering.
Here are some essential maintenance tips to keep your fire pit in top condition:
- Remove ashes and debris after each use
Let the ashes cool completely, then scoop them out to prevent moisture buildup, which can lead to corrosion or mildew. - Check for cracks or loose stones
Inspect the walls and base regularly, especially after heavy use or harsh weather. Repairing minor issues early can prevent major damage later. - Clean the fire ring (if installed)
If you use a metal fire ring insert, check it for rust, warping, or buildup. A wire brush can remove surface rust, and high-temperature paint can help protect it. - Brush off soot and dirt
Use a stiff-bristle brush or mild detergent for occasional cleaning of the pavers or blocks to keep them looking their best. - Cover it during the off-season
Use a weatherproof cover when the fire pit is not in use, especially during snowy Pennsylvania winters. This helps prevent water infiltration and freeze-thaw damage. - Store portable elements
If your fire pit includes removable parts like grates or screens, store them indoors or in a dry place during extended periods of non-use.
Even when temperatures drop, your fire pit can still be a cozy focal point. With a little preparation, winter evenings can become some of the most memorable:
- Layer with thick outdoor blankets or faux fur throws
- Serve warm drinks like hot cocoa, cider, or mulled wine
- Add soft lighting for extra ambiance and safety
- Create a wind barrier using outdoor curtains or strategic landscaping
With seasonal awareness and routine care, your fire pit remains not only a practical heat source but also a year-round centerpiece for connection, relaxation, and outdoor enjoyment.
Adding a Festive Glow with Lights
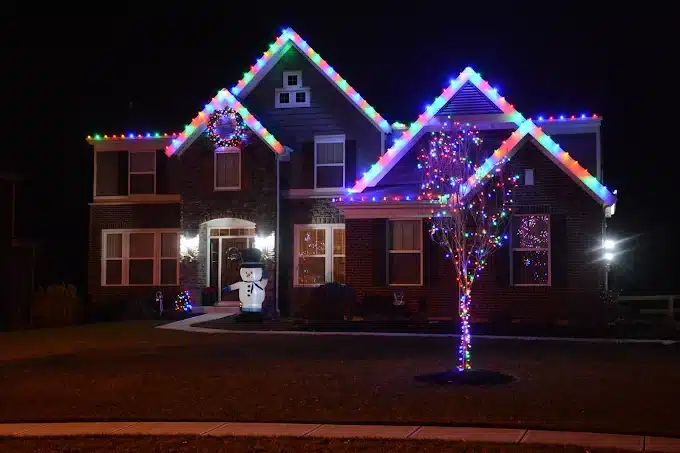
Your fire pit is a natural centerpiece, and with some added lighting, it can become a holiday favorite. Strings of warm-white LEDs or pathway lights can make your outdoor area shine, especially during winter festivities. For a magical touch, pair your setup with Christmas Light Installation services. The glow of Christmas lights enhances the ambiance and makes your fire pit area even more inviting.
Homeowners in Harrisburg and surrounding areas often combine their fire pit upgrades with Christmas lights installation in Harrisburg to create a cohesive winter wonderland right in their backyard.
Budget-Friendly Fire Pit Tips
If you’re looking to tackle budget landscaping projects, building a fire pit can be surprisingly affordable, especially when you get creative with materials and keep the design straightforward. Repurposing items you already have or sourcing secondhand materials can significantly reduce costs without compromising on charm or functionality.
Consider using salvaged bricks, reclaimed pavers, or upcycled metal rings from old fire barrels or construction sites. Even leftover gravel or sand from previous home improvement projects can find a second life as your fire pit base. These choices not only save money but also add character and uniqueness to your design.
To keep expenses manageable, opt for a simple circular layout that doesn’t require custom cutting or complex patterns. Focus on solid construction and function over decorative extras. You can always enhance the look over time with seating, lighting, or landscaping as your budget allows.
Avoid pre-made fire pit kits if you’re trying to stretch your dollars. While convenient, these kits often come with a higher markup and less flexibility in design. By sourcing materials individually perhaps even from local suppliers or surplus yards you can achieve the same (or better) results for a fraction of the cost.
Smart planning and a little DIY resourcefulness can turn your fire pit into the centerpiece of your yard without burning through your budget.
Where Flames Meet Functionality
A DIY home fire pit doesn’t just warm your evenings, it transforms your yard into a hub of comfort, style, and connection. From planning and digging to decorating and lighting, the process brings lasting rewards. With attention to safety and design, and perhaps a touch of seasonal sparkle, your fire pit area becomes the highlight of your outdoor living space. Whether you’re hosting or relaxing solo, this project blends rustic charm with practical value for every Pennsylvania home.


