


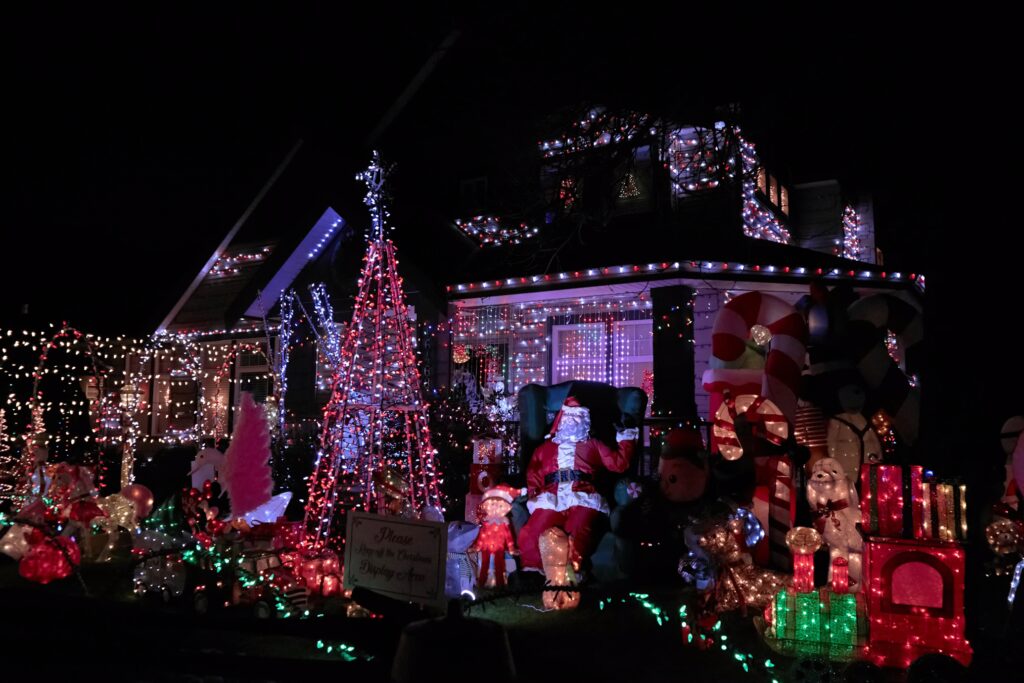
How to attach Christmas lights to a house is one of the most important things to understand when the holidays roll around and homes start to glow with festive decor. With the right approach, you can create a warm, eye‑catching display while protecting your rooflines, siding, and trim from damage.
Whether you’re outlining a gable roof in York or wrapping porch columns in Mechanicsburg, using proper tools and proven techniques helps save time, reduce frustration, and avoid unnecessary repairs throughout the season.
Your Step-by-Step Map to a Brilliant Holiday Display
- Planning Your Layout: Avoid the Tangle, Win the Glow
- Choosing the Right Fasteners for Every Surface
- Attaching Lights to Rooflines, Gutters, and Shingles
- Mounting Christmas Lights on Siding, Brick, and Trim
- Safety Comes First: Power, Ladders, and Load
- Clean-Looking Lighting: Spacing and Symmetry
- Common Mistakes (and How to Avoid Them)
- Why Some Homeowners Call in the Pros
- Wrapping Up: How to Attach Christmas Lights to a House

Planning Your Layout: Avoid the Tangle, Win the Glow
Before opening your first box of holiday lights, it’s important to step back and map out your design. Walk around the exterior of your home and observe key features like the location and number of power outlets, the shape and height of your rooflines and gables, and any porch railings, posts, or overhangs that could enhance your display.
Take note of trees, shrubs, window frames, and eaves any spot where lights might add charm or symmetry. Sketch a quick diagram and measure each area where you plan to hang lights. This not only helps you estimate how many feet of lighting you’ll need but also what types such as icicle lights for eaves, C9 bulbs for rooflines, or LED nets for bushes will work best for each surface.
Consider where your extension cords will run and how power will be distributed to avoid overloading circuits. Taking the time to plan your setup is one of the simplest ways to reduce frustration during installation.If you’re new to learning how to attach Christmas lights to a house, starting with a clear layout ensures smoother execution, better visual results, and fewer trips up and down the ladder.
Choosing the Right Fasteners for Every Surface
One of the most important factors in a damage-free installation is choosing clips or hooks tailored to your house’s exterior materials. Here’s a breakdown by surface:
Roof Shingles
Use all-in-one clips or shingle tabs. These slide under the edge of the shingles without needing nails or screws. Never lift shingles or pierce them.
Gutters
Plastic gutter hooks clip directly onto the lip of the gutter. These are ideal for hanging lights with minimal effort and no risk of damage.
Vinyl or Aluminum Siding
For homes with siding, use light clips with adhesive backs or siding hooks that tuck under the siding panels. Avoid anything that penetrates the material.
Brick and Masonry
Use brick clips that grab onto the brick edge or apply removable adhesive hooks rated for outdoor use. Avoid using a drill, which can lead to permanent damage.
Choosing the right hardware protects your home and makes removal easier after the season ends.
Attaching Lights to Rooflines, Gutters, and Shingles
To attach Christmas lights to your roofline without causing damage:
- Use a ladder safely always have someone spot you.
- Attach all-in-one clips to your lights before climbing.
- Slide clips under shingles or hook onto gutters.
- Keep lights facing the same direction for a clean line.
- Space the clips evenly (6 to 12 inches apart) to prevent sagging.
This method works well for outlining gables, fascia boards, and gutters. It’s especially effective with C9 bulbs or icicle lights, which provide strong visibility from a distance.

Mounting Christmas Lights on Siding, Brick, and Trim
If you’re decorating a home with siding or brick, you’ll need to adjust your technique:
- For vinyl siding, slide siding hooks under the overlapping panels no tools needed.
- For wooden trim or railings, use command hooks designed for outdoor use (check temperature ratings).
- On brick, attach brick clips or hot glue lights if you’re comfortable using a heat gun (recommended only on permanent display setups).
No matter the material, avoid nailing or stapling directly into your home exterior. Not only can this cause long-term damage, but it may also violate local housing codes or HOA regulations.
Safety Comes First: Power, Ladders, and Load
No holiday light show is worth a trip to the emergency room, which is why safety should always be your top priority during setup. Start by using only outdoor-rated extension cords and power strips, as indoor options are not built to withstand moisture, snow, or freezing temperatures.
It’s also essential to calculate the total wattage of your display before plugging anything in overloaded circuits can lead to blown fuses, tripped breakers, or even fires. Testing every strand of lights before installation is another key step often overlooked. Discovering a faulty section after everything is hung can be both frustrating and dangerous if you’re rushing to fix it.
When climbing to reach gutters or rooflines, always use a fiberglass or wooden ladder, especially near power sources. Metal ladders can conduct electricity and pose a serious hazard. Make sure to run power cords in a way that avoids walkways or insulate them properly to prevent tripping. You should also keep an eye on how many strands are connected to a single outlet many homeowners string too many lights together without considering the outlet’s load limit.
If you’re still learning how to attach Christmas lights to a house, keep in mind that LED lights are a safer and more efficient option. They consume significantly less energy, produce less heat, and are ideal for large or complex displays. Taking the time to prioritize safety doesn’t just protect you it ensures your home remains festive and accident-free all season long.
Clean-Looking Lighting: Spacing and Symmetry
You don’t need a degree in design to make your display look polished. Focus on:
- Even clip spacing: 6–12 inches for clean lines.
- Symmetry: Balance left and right sides of windows, doorways, and rooflines.
- Consistent bulb orientation: Make sure all face outward or downward for uniformity.
- Matching light temperature: Don’t mix cool white and warm white unless intentional.
Use measuring tape or painter’s tape when installing to guide symmetry especially around windows and columns. A little prep here can give your display that “professional” touch without the pro price tag.

Common Mistakes (and How to Avoid Them)
Learning how to attach Christmas lights to a house isn’t difficult, but many homeowners run into problems because of a few common, avoidable mistakes. One of the biggest errors is using nails or staples to secure lights. While it may seem quick, piercing roofing materials, siding, or gutters can lead to long-term damage, moisture intrusion, and costly repairs once the season is over.
Another frequent issue is skipping the testing phase. Hanging an entire display only to discover a dead strand can be frustrating and time-consuming. Plugging in your lights and checking for burned-out bulbs before installation saves time and ensures a consistent, bright appearance. Improper spacing is also a common misstep.
When clips are placed too far apart, lights can sag, twist, or appear uneven. Keeping attachment points evenly spaced creates cleaner lines and a more polished look. Homeowners also sometimes mix incompatible light types, especially incandescent and LED strands. These don’t always function well together and can cause flickering or uneven brightness. Finally, overloading electrical circuits is a serious safety concern.
Running too many strands from a single outlet can trip breakers or create fire hazards. Using surge-protected power strips and following manufacturer wattage guidelines helps keep your display safe and reliable. With a little extra attention and planning, these mistakes are easy to avoid, making your holiday lighting setup safer, smoother, and far more enjoyable.
Why Some Homeowners Call in the Pros
For those short on time, mobility, or patience, professional holiday lighting services can be a game-changer. In places like central Pennsylvania, where winter weather can be unpredictable, hiring experienced installers reduces risk and delivers consistent, eye-catching results.
Professionals know how to:
- Plan energy-efficient and safe layouts
- Use commercial-grade clips and fasteners
- Navigate tricky rooflines, chimneys, and tall trees
- Work efficiently in cold or icy conditions
- Prevent damage to gutters, siding, or landscaping
If you’re located in Cumberland County or beyond, you might want to check out Christmas light installation in Mechanicsburg for a hassle-free option.
Or if you’re down in York, you can explore Christmas light installation in York for dependable seasonal service.
Wrapping Up: How to Attach Christmas Lights to a House
How to attach Christmas lights to a house comes down to smart planning, the right clips, and a steady approach it doesn’t require any specialty tools. From vinyl siding to steep gables, every surface has a safe, non-damaging method for adding that magical holiday glow.
Don’t rush the process. Whether you DIY or call in the experts, your home deserves a display that turns heads for all the right reasons. Keep safety first, test often, and enjoy the sparkle all season long.


