


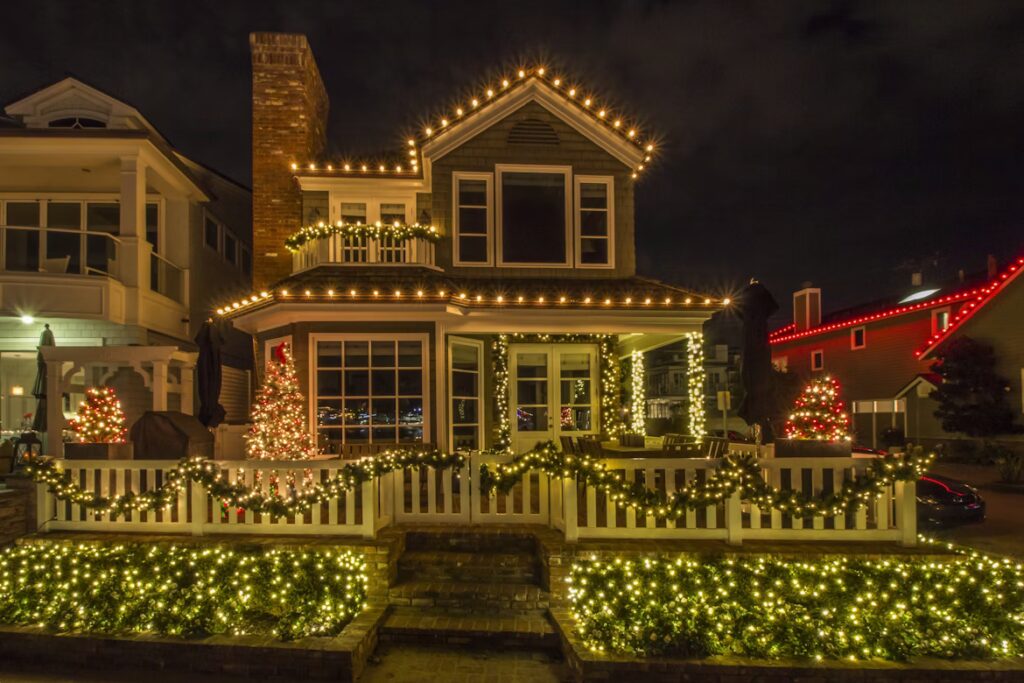
The holiday season is a time for warmth, cheer, and dazzling home decorations, and nothing captures the spirit quite like a beautifully lit roofline.
Whether you’re going for a winter wonderland vibe or just want to outshine the neighbors, learning how to hang Christmas lights on roof areas safely and effectively can make all the difference.
Everything You Need for a Brilliant Display
- Safety First: Preparing for Roof Lighting
- Best Time to Start Hanging Holiday Lights
- Where to Add Holiday Glow Around Your Home
- Choosing the Right Lights and Clips
- How to Hang Christmas Lights on Rooflines
- Mistakes to Avoid for a Smooth Install
- Protecting Your Roof and Shingles
- The Value of Professional Installation
- Finishing Strong: Planning Your Display Right
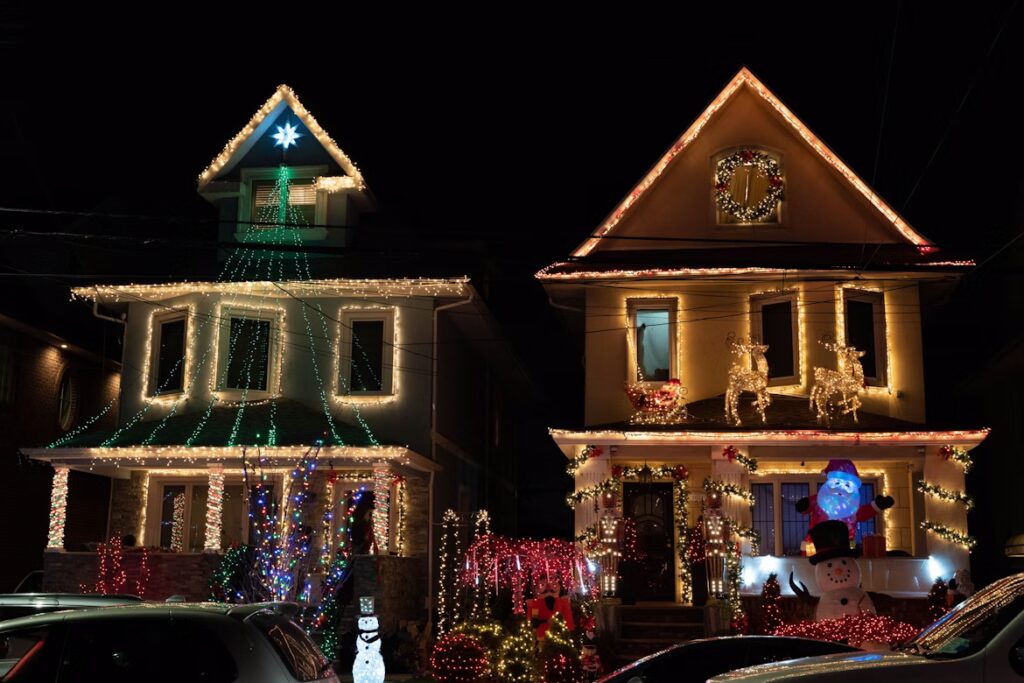
Before You Begin: Safety and Prep Tips
Before learning how to hang Christmas lights on roof areas, take time to prepare properly. Gather all necessary supplies: outdoor-rated lights, clips, extension cords, a sturdy ladder, gloves, and any safety gear like non-slip shoes or a harness for steep roofs.
Inspect every light strand for broken bulbs, frayed wires, or damaged plugs, and test them on the ground first. Set your ladder on level ground and never climb without someone nearby to assist. Avoid working in wet, icy, or windy conditions, plan your install for a dry, calm day.
Lastly, map out your design in advance. Know where the power source is and how much lighting and how many clips you’ll need. This preparation goes a long way toward a safe, smooth installation.
When to Start Hanging Roof Lights for the Holidays
One of the most frequently overlooked parts of learning how to hang Christmas lights on rooflines is knowing when to start the process. Timing plays a crucial role in ensuring your display is both safe and stress-free.
The best time to hang lights is during late fall, well before freezing temperatures or snowfall make roofs slippery and dangerous. Dry weather and moderate temperatures provide safer conditions for climbing ladders and securing clips.
Waiting too long into the season can not only make the job harder, but it may also limit your options if you decide to hire a professional installer, many books out early. Additionally, starting early allows time to test your lights, replace faulty strands, and plan a design that complements your home’s architecture.
Whether you’re installing the lights yourself or hiring out the job, giving yourself extra lead time helps avoid last-minute problems and ensures your home is ready to shine when the holidays arrive.
What Areas Can You Light Up?
One of the most exciting parts of decorating your home is the variety of areas you can light up. While the roof is a centerpiece, don’t overlook these festive zones:
- Roof Ridges and Rooflines – These define your home’s shape and create clean, elegant outlines.
- Trees and Landscape – Wrapping lights around tree trunks or hanging them from large branches adds depth and dimension to your display.
- Garlands and Wreaths – Placed around doorways or windows, these elements tie the whole look together.
- Porch Railings and Columns – Add a welcoming touch to the entryway.
- Windows and Dormers – Light frames and outlines add visual interest from every angle.

Types of Lights and Clips to Consider
When selecting your holiday lights, LED lights are typically the best choice. They’re far more energy-efficient than traditional incandescent bulbs and offer excellent durability, especially in cold weather. Because they emit less heat, they also pose a lower fire risk and are less likely to crack or burn out during freezing temperatures.
If you’re learning how to hang Christmas lights on roof areas properly, it’s essential to avoid using staples, nails, or any materials that could puncture or damage your roof or siding. Instead, opt for purpose-built clips designed specifically for holiday lighting. One versatile option is the all-in-one clip, which works well along both gutters and shingle edges.
For lights that run along the eaves of your roof, eave clips provide a secure, non-invasive hold. If you’re attaching lights directly along the roofline, shingle tabs are ideal. These clips are designed to slide gently under shingles without lifting or damaging them, making them a safe and effective solution for roof-mounted displays.
Step-by-Step: How to Hang Christmas Lights on Roof
Now to the core of it. Follow these steps to hang lights like a pro:
1. Measure Your Roofline
Use a tape measure or a digital tool to get an accurate idea of how many feet of lights you’ll need. Don’t forget to include any side peaks or dormers.
2. Test Your Lights
Plug in each strand before hanging. Look for flickers, broken bulbs, or frayed wires. Label any broken strands to fix or discard.
3. Plan Your Pattern
Decide whether you want straight lines, zigzags, or specific shapes. Map out the flow, noting where the power source is located and whether you’ll need extension cords or timers.
4. Start from the Power Source
Always begin where your outdoor outlet is located and work outward. This minimizes extension cord clutter and power issues.
5. Use Proper Clips
Slide the clip under your shingles (never lift or pry them!) or attach to gutters, depending on the area. Continue clipping every 12–18 inches to keep the line taut and professional-looking.
6. Secure the Cords
Bundle and tape any excess wire or cords to prevent tripping and keep everything tidy.
7. Final Safety Check
Before turning anything on, double-check for loose clips, frayed wires, or lights touching anything flammable.
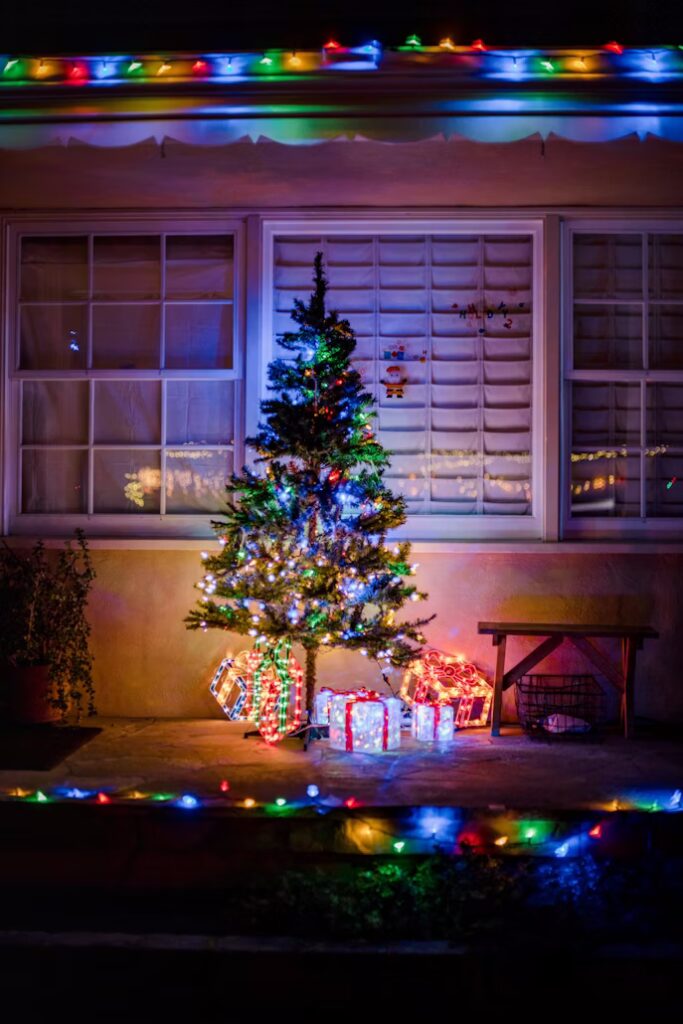
Common Mistakes to Avoid When Hanging Roof Lights
Even with a solid plan in place, several common mistakes can undermine your efforts and even lead to safety issues or property damage. One of the biggest missteps is overloading circuits by plugging too many light strands into a single outlet.
This can trip breakers or pose fire hazards, especially if you’re not following the manufacturer’s wattage limits. Another frequent error is using indoor-rated lights outside. Lights not designed for outdoor conditions can fail quickly when exposed to snow, moisture, or fluctuating temperatures.
Always check that your lights are labeled for exterior use. Skipping the simple step of testing your lights before installation can also lead to frustration. Hanging an entire string of lights only to realize part of it doesn’t work means unnecessary rework.
It’s always better to test each strand while still on the ground. Improper use of clips is another issue. Forcing clips into gutters or under shingles, rather than using the correct type for the specific roof area, can cause long-term damage to your home’s exterior.
Additionally, attempting to hang lights in wet or windy conditions increases the chance of injury and typically results in a rushed, uneven installation. Finally, neglecting proper cord management can lead to tangled wires or trip hazards.
Securing cords neatly and out of walkways helps keep your setup safe and organized for the entire holiday season. By steering clear of these common pitfalls, you’ll create a safer, longer-lasting, and more visually impressive lighting display.
Avoiding Damage to Your Shingles
Your roof is one of your home’s most valuable components, and it deserves to be treated with care. When attaching lights:
- Never use nails or screws that puncture shingles.
- Avoid lifting or tugging on shingle edges.
- Use shingle clips designed to slide gently under without lifting them.
Improper installation can crack shingles or void your roof’s warranty, both costly mistakes that can be avoided with the right tools and approach.
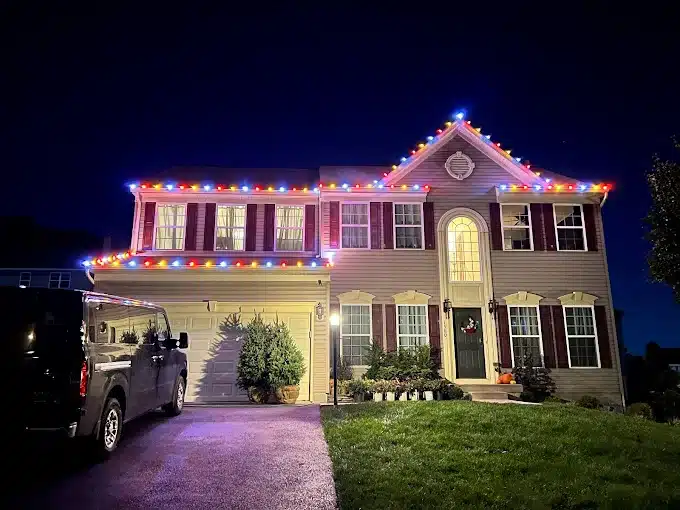
Why Professionals Make a Difference
While installing holiday lights yourself can be satisfying, hiring experienced installers offers several advantages in terms of safety, efficiency, and design quality. Professionals understand roof angles, use commercial-grade lights, and secure every strand to withstand snow, wind, and freezing temperatures.
They also bring the right equipment like ladders, clips, and safety harnesses and the know-how to avoid damaging roofing materials or risking personal injury. If you’d rather skip the ladder this year, consider outsourcing the work to a qualified team. Services like holiday light installation in Harrisburg and holiday light installation in Lancaster offer a convenient way to achieve a safe, professional-grade display that lasts all season long.
Lighting Up Harrisburg, Lancaster, and Beyond
Now that you understand how to hang Christmas lights on roof areas safely and effectively, you can start planning a display that highlights your home’s features and captures the festive spirit. Whether your home has steep pitches, dormers, or a flat roof, choosing the right approach for your specific architecture is key.
Details like roof shape, light type, and the condition of your shingles all play a role in how your final setup will look and how well it will hold up through winter weather. While doing it yourself is certainly an option, many homeowners find that working with a professional ensures the lights are installed securely, evenly spaced, and built to withstand the elements.
If you’re aiming for a polished, long-lasting result, consider reaching out to a lighting expert for a custom plan based on your home’s layout. A thoughtfully installed display can bring joy all season long without the stress or risk of doing it alone.


